Knit, Knit, Purl, Purl ... that's what makes ... the hat go round

I love that song in the sword and the stone.  Something about people fish, but i still prefer the purple dragons (even if they are against the rules).  This always inspires me to want to do some basic knitting project while i bob my head back and forth singing the only three of four lines i know from the whole song.  Que the hat orders!!!  I have started beanie #1 on the order list from friends and family in a beautiful Brown/Gray Color Way of Noro Silk Garden, so soft and gorgeous ... but still quite manly so totally boy appropriate.  This will be a standard 2 x 2 rib beanie.  It was begun late Wednesday night while i burned through the 3rd quarter of Twilight holding the book open with my toes ... multitasking at it's finest!!!  The hat will be worked on while i'm here in Albuquerque and hopefully finished by the plane ride home on Sunday.


I am *really* enjoying all of the knitting i've been getting to this month, so relaxing and productive!


The Brown Twill Adventure

While in NY this week and ran over to Mood as *soon* as my teaching was over the first day i was here. I had about 30 minutes to search three full floors for the perfect Brown Twill to match the beautiful Homespun fabric purchased for the 1887 Wool Checked Costume. After 20 minutes i decided that my eyesite was poor that that i was going to leave it up to the professionals. I tracked down a sweet gal with a pair of neon scissors on a neon grow grain ribbon over her shoulder...awesome!!! I handed her the swatched and asked her to please find me a medium weight twill that was less than $15 a yard. Two minutes later i had 14 yards of just such a thing, super rockin!

Now i just have to cart 14 yards of the perfect brown twill onto a plane a few more times before it goes back to Berkeley to be match up with it's buddies and to let the sewing begin!

All of the picture look awful in the icky hotel lighting so pictures will follow after the weekend excited of the party in Albuquerque.

A Beautiful weekend of kites, knitting, and unexpected detours

The weekend was awesome!  I met friends at the Berkeley Kite Festival @ the Marina and had an awesome watching the purty kites and knitting on a rainbow scarf.  There were at least 12 different octopi and squid in the sky, the giant inflatable style kites, just hovering all day.  There were tons of small kids with tiny kites.  One family even had a "butterfly" kite.  Literally a small shape cutout the size of a butterfly, so yes...the kite was no more then 3" x 3"!!!  Awesome!!!  There were spinny kites, there were kites that could have flown off on their own and made crop circles prior to returning to the mothership, there were kites that looked like pirate ships, and last but not least ... there was an ATM in the middle of all of it.  So silly i had to take a pictures.  How many ATM shots do you get in your life with the ocean in the background : )

The Patroitic Kites  Preparing to race against the wind  ATM by the Beach ... NICE!!!

Sunday was less fun, but very much a continuation of a journey.  My last trip to NY for work.  I have no others planned and don't think with the economy that there will be any others anytime soon.  The thunderstorms made our plane wait and circle for a few hours while it doused NYC well and good.  It even made us run out of fuel so we had to set down in Allentown, PA to wait it out.  nearly 4 hours later we took back off.  Needless to say i got to know my row mates much better and was able to finish the scarf i had started on Saturday at the kite festival while getting in a lot of time listening to David Copperfield...all in all not too shabby.  I was exhausted when i finally got to the hotel at 1am (should have been here at 6pm), but all is well that ends in a fully knitted project.

Knitting Scarf Kite!  Rainbow Scarf  Rainbow Scarf - S.P.
 

For the Love of Fabric ... A Journey

So after finding the perfect fabric phone calls were made and i found the necessary 12 yards (actually 11 1/2 yards) at a store in Fremont. The fabric was just too perfect of a match to pass up the opportunity. So the 1 hour trek in the car was made down there (and now i remember how much i hate rush hour traffic). Arrived in the store and after a few minutes found what i was looking for. Yea!!! Then i found there were two bolts... not good. Yep, the phone calls and staff help had failed to mention that the fabric wasn't in a single piece. Oh well, it's still too good to pass up. So it was purchased and the remaining 1 1/2 yards from El Cerrito was also purchased (yes, someone totally bought some of my precious fabric while i wasn't looking) to ensure i had enough to work in the pieces. After getting home and looking at the pattern pieces lengths i should be fine. Here is the spread...

Natural check linen for petticoat, Wine/Tan/Brown Homespun for the body, Red Velveteen for the trimming

Fabrics for the 1887 Check Wool Costume


Still on the look out for lining. Thinking of a brown twill to match the homespun...

Quick Highlights

Lace Cuffs
Nearly done knitting the second, should be able to finish and block before i leave for NY on Sunday.

Doll Dress
*Most* of the buttons are on...some how one singular button that is of a smaller size managed to jump into the mix with it's 29 brothers and sisters.  Runt button needs to be taken back to store and hopefully fully grown button available for swap.  Also still needs a hem, some pockets, and some additional "trimmings" to help the dress look more "i made this chick for my high school science fair project...in 1882".

1887 Checked Wool Costume

This is outfit #2 for SteamCon.  The plan is to build a beautiful outfit around the Camel hat purchased at the Pirate Faire.  So far i have looked at the pattern and come up with some very large amounts of fabric needed, amounts like 15 yards for lining...ouch!  I found the most perfect fabric!  And i found 4 yards of the required 12 yards.  Arg!  After lots of fist shaking i asked for some help in the fabric store and found there may be hope.  Another location *may* have 11 7/8 yards.  Tomorrow includes a very quick trip to Fremont in search of said fabric and potentially another trip to El Cerrito to procure the 4 yards just in case.


Doll Dress | Flat Lined and with Sleeves

The doll dress is coming along fantastically!  Everything has been cut out, the body and sleeves have been flat lined and sewn together.  Next will be to set the collar and the facings.  I was thinking of adding some pockets...but looking at it i don't know how they'd come out...will keep thinking.  By the weekend i should be able to start working on "patching" the dress, sewing small squares of the vintage stamp fabric onto the dress in random places and starting to make the dress look more lived in.  Currently the Black and White Petticoat is under the dress.  It works, but it would be nice to have a petticoat that was a bit fuller to help the dress to have a full sweep.  If time permits a petticoat will be sewn.  Also (and/or) thinking about drawers?  Lastly for the head/hat planning to make bows to tie into my hair that are very simple, but still period and clean.  I'm going for a "how a scientist would dress their new creation, late 19th century" so a weird cross between woman and young girl come to mind with a complete lack of fashion sense, where the creation has made a few modifications and kept up the garment themselves.


Doll Dress Beginnings

There are a great many occasions for outfits in the next coming months.  Everyone has heard me mention Steam-Con at the end of October.  This being a fair amount earlier than dickens and consisting of 3 full days and 2 nights worth of costuming opportunities i have shut myself away in my house until then to sew, sew, sew.  And so far 'tis good!  The first outfit I am working on is one of the "evening" outfits.  This will be a true costume, not just period dress.  I am working on a "Doll Dress" starting from the Truly Victorian #TV432 - 1882 Tea Gown.  Here is the second fitting.  Not tons of changes, but one major one was to remove a waist dart and add a bust dart.  The dress just didn't hang right over my bust until i did this.


After a couple of muslin fittings i was ready to cut the goods.  Last night i cut out all of the self (heavy natural muslin) and lining (hunter green cotton twill) out of the pattern.  My thumb hurt so bad!  I don't know why i didn't use the rotary cutter!!!  Tonight i got through the initial sewing pains flat lining the back panels and stitching them together.  The twill add an enormous amount of stiffness and weight to the dress really improving the shape.  So far?  Very *happy*!

Dress Form Love | Obtaining the Right Fit with a Uniquely You Form

At the end of June when i made a list and checked it twice seeing that i expected myself to make 5 full Victorian era costumes/dresses by Halloween for Steam-con and a a couple of Dickens outfits by Thanksgiving i felt a good dress form was necessary.  I had been eyeing a paticular form for a few months and decided it was time!  I ordered a Uniquely You form and on July 2nd she appeared!  The Uniquely You forms are made up of two main parts: the form body and the "over dress".  The form is what it is...which is not my shape or size.  That's where the over dress comes in to work some magic.  The overdress is fit to "you"!  After getting everything out of the box and set (like 5 minutes) i started into the over dress fitting.  After taking a dinner break i read the instructions, handed the man some pins, and set to it.  After about 6 hours that night of pin---sew---pin---sew we stopped in a pretty close place.  The next morning (yea for holiday long weekends!!!)  I was able to tweak a few things and was very happy with the results in about an hour.


After getting the over dress onto the form there is a note in the instructions that since the form is trying so hard to "expand" (silly foam!) that the dress may not be the same size as when on the model.  Well i had already put in a tad bit of ease...i'm not making swim wear here.  After getting her all dressed and taking measurements she was running a 1" or so big through some key areas, mostly in the upper back width.  Off the dress came and three re-do's later she looks and fits pretty darn good!

I have seen a lot of blog posts about these dress forms saying that if you don't have a fitting or seamstress background that these are too much...i completely 100% disagree.  i stood there very patiently while my boyfriend did all of the initial pinning following the directions.  Trust me, he's not a tailor.  He followed the instructions.  They are great instructions.  This is really a two person job: one to stand there and look pretty while the other pins and pins and pins.  I *could* have done this all by myself, but it would have taken for ever as when you bend to put in a pin you are shifting your weight and shape and would have required many more iterations to get the shape correct.  Please do not be intimidated by the "fitting" of the dress form.  No matter how close you get the over dress it will still be hundreds of times closer to YOUR shape then any of the "dial a size" dress forms.

*Fitting the Over Dress Notes*
* Follow the instructions is an understatement.  It notes that if if you are a seamstress, fitting the over dress is different than a regular garment and to follow the instructions, i second that!
* The over dress "was" the correct length for the form, but during the fitting process i removed from length at the back and gave her some extra darts that "shortened" the dress almost 2".
* Keep the same "undergarments" on throughout the *entire fitting process*.  If you change bras this will change the fit as each bra has a specific "cup" shape (especially going from a molded cup to a lace or fabric cup).  This will throw off your fitting and drive you insane.  Once everything is looking good grab those other bras and try them on with the over dress to find a happy medium.
* I opened the lower across front bust dart and added my own lower in the bust area.  This gave the front of the bust a rounder shape.  The additional dart was in the instructions, but removing the upper was not.  I would recommend this for the D Cup + gals to help reduce the pointed front.  (The form could easily fit up to a DDD/F cup based on the foam and extra large seam allowances in the over dress).
* Don't worry about trying to match the side seams front to back.  This nearly drove me crazy as i have no back and it wasn't working.  Instead follow the instructions and pin it where it falls.
* The shoulder seams do not match and the CB neck is too low with an odd shape.  'tis what it 'tis.  I know where the neckline is by looking at the form and will probably in the future add an additional piece of fabric to the back neckline to fill it in or cut out a new over dress with that corrected.  It has not affected the fit as the dress form is nice and flat in the back neck area.
* I shaped the lower back (gave her some rear end), not in the instructions, but helps to see when things are "collapsing" in the back of the garment.  Also makes the zipper a true nightmare to get all the way down while "dressing" her.
* The seams will not match up, you will add darts in crazy places you would never want in a dress...but remember that this is not being worn, this is to fit *your shape*...so pin away.
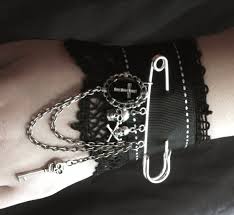
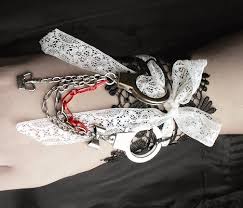
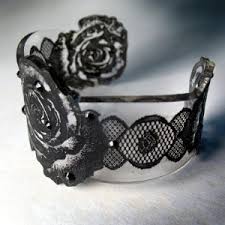
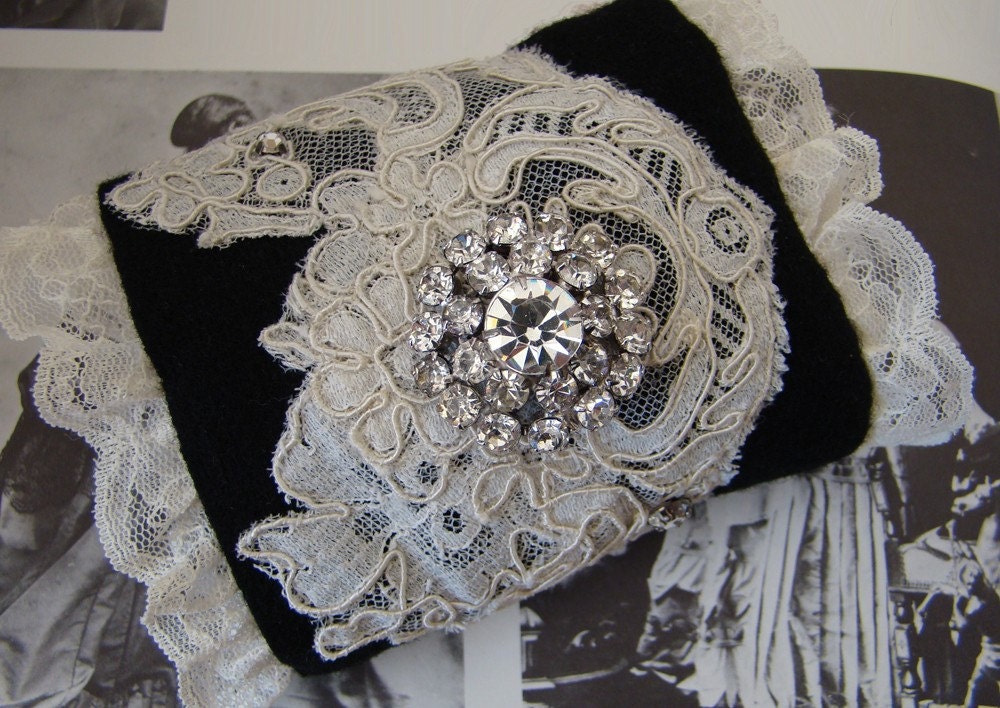


Once she was finshed i tried a few of my old muslins on her and things looks great!  Also i noticed things i would have changed if i could have had a third person perspective...and some changes i will do differently next time.  I have already put her to good use on a new project as well with the "Doll Dress" that i just started...

Strawberry Slow Rise Vegan Pancakes

These were yummy and thought i'd share. I would totally go with the apple slices next time like in the original recipe...but i had fresh picked strawberries that were super yummy!!!

One Victorian Lace Cuff Down ... One To Go

The first cuff has been finished!  While the knitting is over, and it's going to hang out for it's other half to be knit and then blocked and sewn up together (so as not to get lonely).  I was thinking that i might want to do these double layered...  A lot of the cuffs from the 19th century i've seen have been single layer, but often in the fashion plates from the 19th century they are double layered or even more.  I'm guessing it adds to the flounce and opalescence of the beautiful lace accessories.  We'll start with one layer as we can always add more.

FO: Victorian Lace Cuff


A couple of lace cuffs i've been admiring online...
Left - Victorian Irish Lace Cuffs (Lace and Lawn Fabric with 3 pintucks along the edge)
Right - Black Lace Cuffs (Tatting?)


A couple of different Cuff style bracelets that are inspiring


Black and White and Petticoat All Over

Hot off the presses I have finished my second petticoat!  My first was a pretty simple, yet still loving of the pintucks, Edwardian era petticoat.  The newly finished one will layer with my walking skirt (late 19th century), and other projects currently in work.  The Black and White fabric was a fantastic find at Longs off Broadway in Oakland.  The Solid Black is a light weight twill from Stone Mountain & Daughter.  I used the Truly Victorian Pattern - TV170 | Natural Form (View B).  I added self 1/2" wide taping strips on the solid black twill with a white edge-stitching along the princess seams and along the ruffle seam at the sweep to help break up the black and white print.  This was super easy to make and i really like the fullness it has added to my walking skirt.

Black & White Petticoat | TV170 Natural Form (View B) | Front   Black & White Petticoat | TV170 Natural Form (View B) | 3/4 View   Black & White Petticoat | TV170 Natural Form (View B) | Back

Note:  Petticoat on my "new" Uniquely You Dress form... separate post to follow about the fantastic new "foam" me that i can stab with pins all night long.


The Great Blocking of the Lace

It was a dark and stormy night... well actually it was just a bit o' over cast and fantastic weather, but that is *totally* a better opening line for the magnitude of the project i am about to describe.

So i've been holding onto this lace i finished knitting for months now.  I have been dreading trying to "block" the lace.  I at one point even came up with the crazy idea that maybe i didn't need to block the lace.  Luckily i promptly came to my senses and shoved the lace back into a dark deep corner of the "things that need attention" drawer.

By luck i found myself in the near vicinity of a hardware store with a few minutes to kill on Sunday afternoon.  I decided it was time to face my fears and try my luck at this whole lace blocking thing.  I purchased a couple of skinny metal rods that didn't look like they would rust immediately and were relatively long, 4' a piece, as i had about 10 ' total to block. 
Lace was soaked in luke warm water for 30 minutes and then lovingly slid onto the blocking rods.  Once everything was on the rods each was laid down on the rug in the living room and the pinning began.  i didn't know i even owned so many pins, wow!  It was relatively easy process, but took a lot longer then i thought it would (30 minutes just to slide everything onto the rods and 40 minutes to pin everything in place).

Blocking Hand Knit Lace | Pinning    Blocking Hand Knit Lace | Threading the Rods    Blocking Hand Knit Lace | Pinned out on the Floor

This morning it was like Christmas!  Everything was dry and beautiful!!!  I also lucked out and found some time this morning to sew the lace onto the polonaise.  Pretty!!!

Blocked Lace | Finished!!!    Blocked Lace and Swirl Trim along Edges of Polonaise

Now i need to make some cuffs to balance out all of the other trimmings that are starting to pile up on the polonaise.  I'm thinking to stick with the Harebell Lace pattern and add the upper design as found in Victorian Lace Today.  Two layers of cuffs for each sleeve should not take too long...and now that i have conquered my fear of blocking they shouldn't even have to sit around forever once they're done ; )


Fouth of July Round About

Fantastic Fourth of July this year!  THe day began at Ano Nuevo beach with yummy sandwiches (yea for Hummus) and a bit of exploring.  After lunch i got to sit and knit.  Good progress was made on the Ripple Blanket.  On down side...i managed to burn the hell out of my legs on the tops of my feet and the back of my hands that were perfectly under the sun for 3 hours while i knit, knit, knit.  I will be rocking the Aloe Vera for a few weeks ; )

My feets & the Ripple Blanket @ Ano Nuevo Beach    Jason higher than the water

From there we drove down along the coast and happened by a "U-Pick" Strawberry farm!  We picked for a few hours and ended up with 4 pounds of berries for dessert later, yummy.  I had never been to a u-pick farm and it was super fun to walk around and only grab the individual fruit that you felt was ripe and ready.  It was neat to look at all of the berries in their different stages of development from the tiny white berries to the clearly should have been picked last week berries.

White Berries!    Me with the Haul

The day ended with watching the fireworks at Half Moon Bay.  They have a fantastic show that had great color as well as different styles of fireworks.  I would totally recommended it.  Also the areas wasn't super crowded and there was tons of great food places down in the Half Moon Bay Marnia (great viewing spot for the fireworks).